
The British relied more on speed than careful calculation; and even if Jellicoe himself was not of the “speed school”, Beatty was. Dreyer and Madden probably were too.
In late 1915 Jellicoe spoke about the constant push for gunnery speed, telling Beatty that he felt that it was “being carried to excess”. His fears that the system of anti-flash doors would be compromised by this obsession with speed were justified. The dangerous practice of stacking ammunition outside the protective magazines and leaving anti-flash doors open during battle resulted. Coincidentally, the fastest gunners in the Battle-Cruiser Fleet were the Invincible and the Queen Mary. By contrast, the Germans learnt from the Blücher’s loss and the Seydlitz’s turret fire at Dogger Bank, and increased flash protection.
The first time that the “T” was crossed saw highly effective gunnery from the Grand Fleet. Within minutes of transferring fire to the König, the Iron Duke scored seven hits. By half-past six, five out of the six divisions were engaged with the German line. In the next short 10 minutes, collectively they managed to land 12 heavy shells on the leading German battleships and battle cruisers, which were badly mauled. The Lützow had taken 20 heavy-calibre hits. The König was left with a bad list.
During this brief encounter, the British scored 23 heavy-shell hits on the enemy’s leading ships. The König was hit eight times by 13.5-inch shells from the Iron Duke and the Monarch and suffered severe damage. The Markgraf received only two hits, but one of these was a near miss by the Orion that bent a propeller shaft and put one of her engines out of action.
The Lützow was hit no fewer than 10 more times, due mostly to the superb gunnery of Hood’s battle cruisers. One devastating hit by either the Invincible or the Inflexible led to her eventual loss. The already battered Derfflinger and the Seydlitz also received more damage, mainly from the Indomitable. In return, Scheer’s battleships had only been able to register a single hit on any of Jellicoe’s battleships, and only two on the Princess Royal. Even Hipper’s accurate gunners could only manage five hits, all of them on the Invincible during those brief moment of clear visibility.
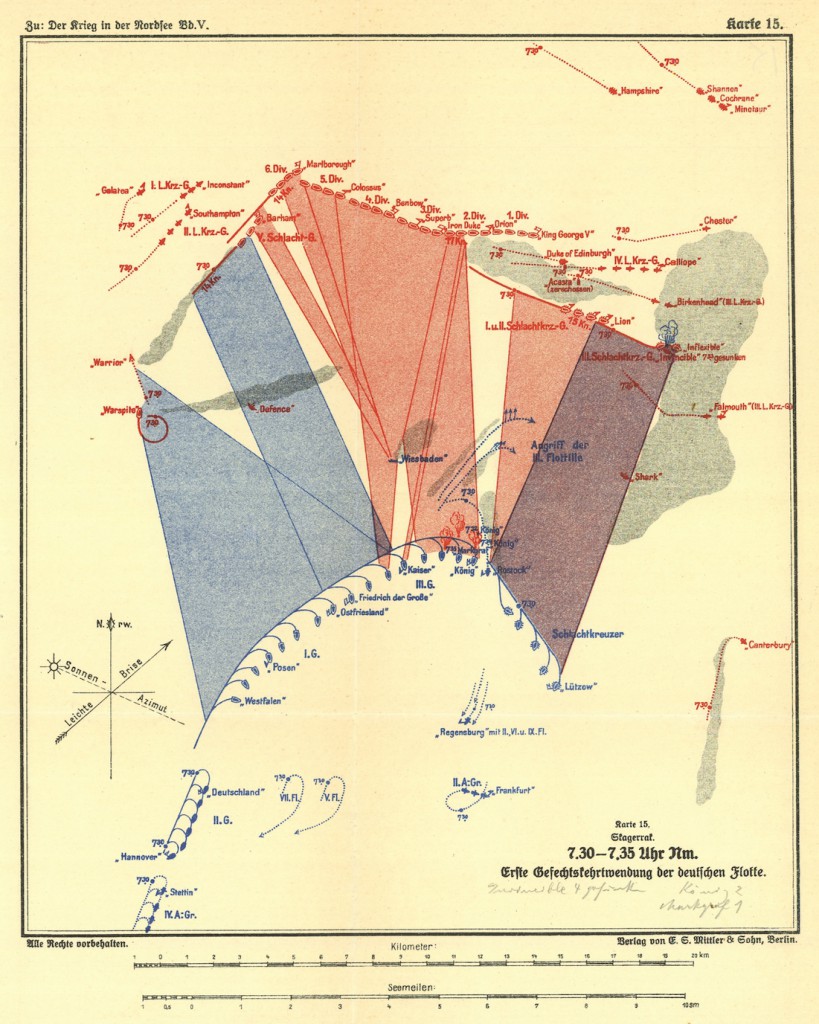
The First “Crossing of the T” at 18-30
The First “Crossing of the T” at 18:30 saw the British battle line (red) concentrating fire on the lead elements of the German battle line (König, Markgraf and Kaiser) in such a heavy fusillade that Scheer ordered the battle turn away (seen here). See more detail in the Maps section on Groos, Map 15.
Despite the sinking of the Invincible, the Defence and the Warrior, the punishment following Jellicoe’s first successful tactical bottling of the German line and the fact that Scheer now realised the danger of the position he had got his fleet into directly led to Scheer’s decision for the first battle turn-away.
The second crossing of the “T” was even more effective. Scheer realised by now that pushing west could be a bad thing. He was going further away from the German coast and his safe haven, and this action could in later years be looked on as a German retreat. That he went back for the Wiesbaden was pure fantasy (although attempts to rescue her crew were made) but there is certainly some strength in the idea that this would throw Jellicoe.
Scheer’s third turn-away was covered by his destroyers and battle-cruisers in the “Death Ride” that was to come. It is worth pointing out that the torpedo attacks were initiated by Kommodore Heinrich a full six minutes before the latter gave the order.
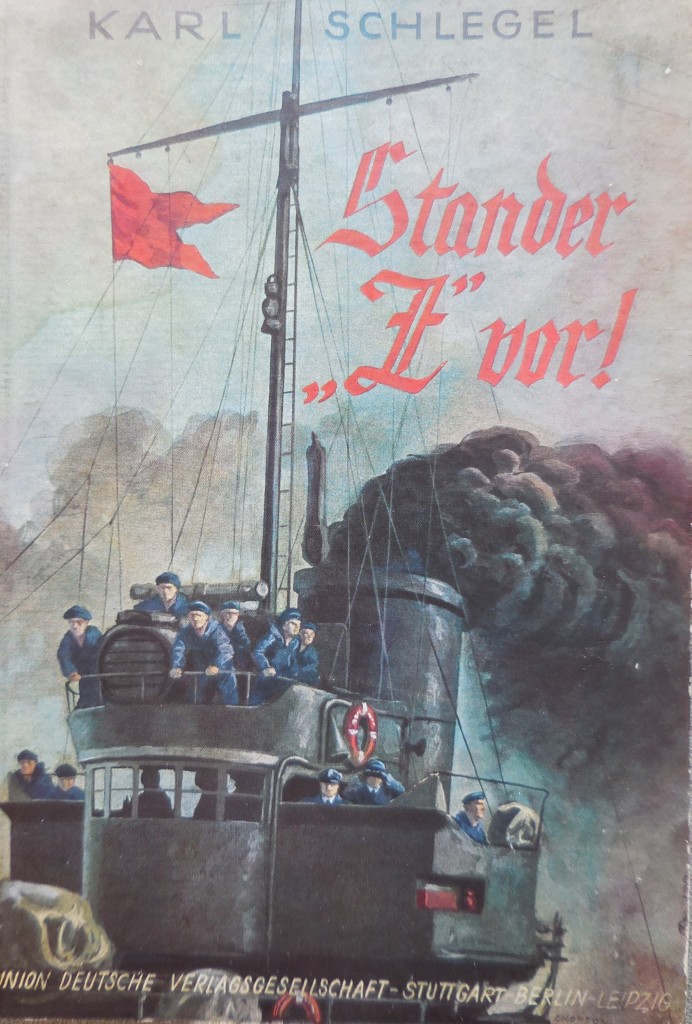
The red Stander Z signal was the order for Torpedo boats to attck.
Once again the Grand Fleet’s gunnery was overpowering and the damage to Scheer’s battleships heavy. The Markgraf was hit five times, the Großer Kurfürst eight and the König 10 times. The Markgraf’s damage was critical; this would reduce Scheer’s overall speed. The König then shipped 200 tons of water, the Großer Kurfürst more than 800.
In the last hour before sunset, British hits on German ships were 49 against three; in the first hour of battle-cruiser action it had been four against 14. The Grand Fleet’s gunnery performance was – during its limited engagement – demonstrably better than that of the 1st or 2nd Battle-Cruiser Squadrons but this was successfully buried at the time. At Scapa Flow a protected gunnery range was available for the Grand Fleet battleships. The battle cruisers at Rosyth had none. The elements of the Grand Fleet that did open fire were able to concentrate their fire not once but twice on the German “T” and also fire significantly more accurately than many of Beatty’s ships.
Some of Beatty’s ships’ performance was lamentable, notably that of the New Zealand and the Tiger. They collectively fired 723 rounds and accounted for only six hits, five of them the Tiger’s. In contrast some of the best shooting ships were the Invincible, the Inflexible, the Barham, the Valiant and Jellicoe’s flagship, the Iron Duke.